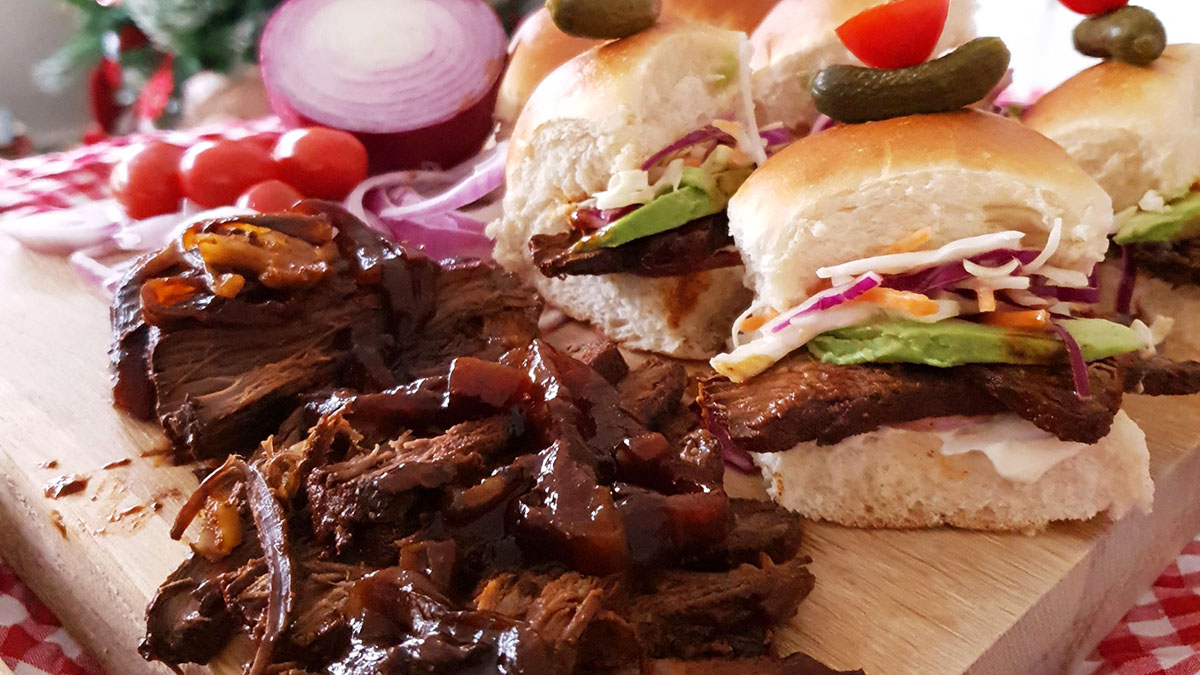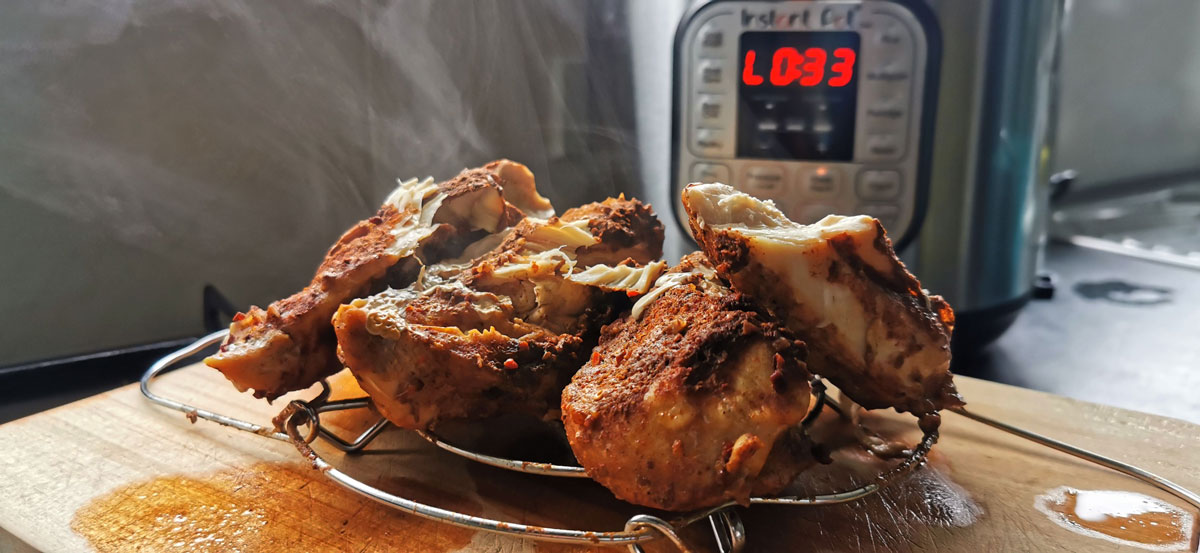
Easy Instant Pot Jerk Chicken Breast Recipe
Oh mates. Dave and I LOVE kitchen small appliances and we’ve tried many over the years, but there has not been one that we have adopted so quickly and used as frequently as our Instant Pot, which was kindly gifted for review. A new arrival …