Here in New Zealand, our kids are heading back to school tomorrow after seven weeks of online schooling during Level 4 & 3 Lockdown. SEVEN WEEKS!
I’m happy for the boys as I know they have missed their friends, but, I’m a little bit (ok, a LOT!) nervous about the whole post-lockdown environment. We haven’t rushed back into pre-covid life at all, and there is much that we will leave back in March, as we are all about that slower, simpler life after so much time at home as a family.
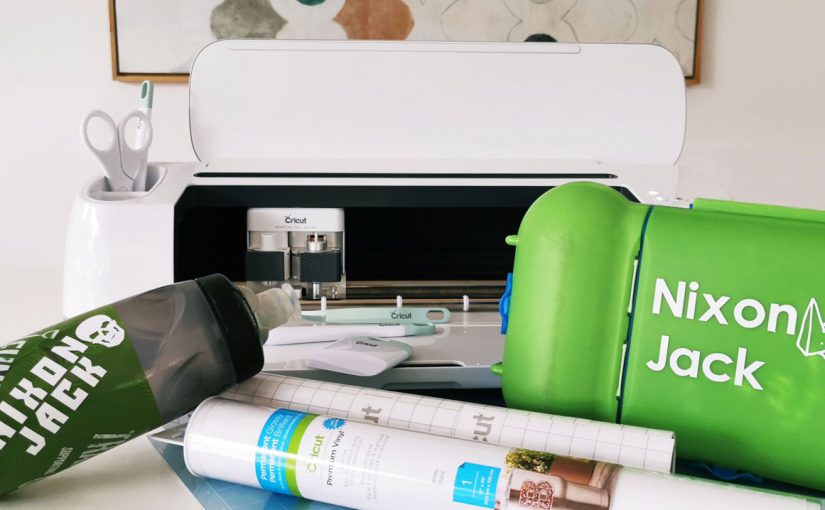
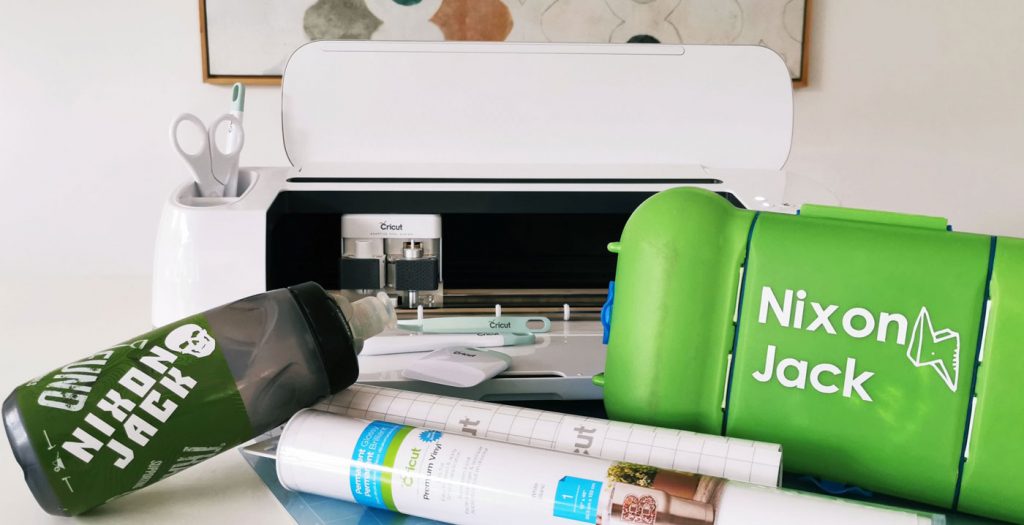
As we prepped school uniforms, books and bags today, I was thinking about sanitiser and general hygiene at the boy’s schools and realised I had not labelled Nixon’s lunchbox or drink bottle at the beginning of the school year. 6-year-olds are going to need all the help they can get to keep safe and maintain appropriate social distancing, not just from each other but also from each other’s belongings. So, I sat down on Sunday afternoon and put my Cricut Maker to work.
I’m still quite a Cricut Newbie so kept this project simple as I didn’t want to spend hours labelling a lunchbox and drink bottle! I browsed the Cricut Design Space app first – beware of falling down the rabbit-hole guys, there are over 3000+ ready-to-make projects on the app so getting distracted by ALL the pretty craft ideas is a def. possibility! I could have used my own design software on the Mac and uploaded it to the app, but Design Space is super easy to learn so I just picked a font and a couple of images from the library and dove right in.
Materials
- Cricut Maker – Mine is the Champagne version and I love it! Available in New Zealand from Spotlight
- Cricut Permanent Premium Vinyl in White
- Cricut Vinyl Transfer Tape Clear
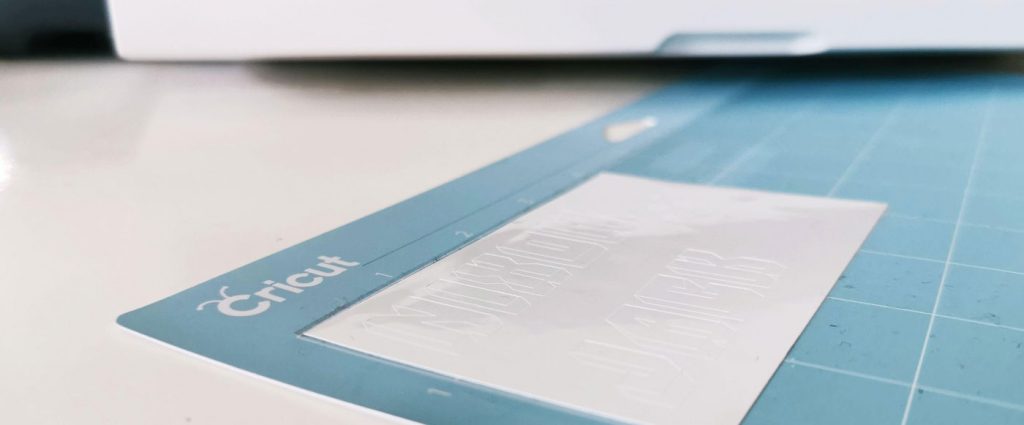
- Cricut Light Grip Cutting Mat
- Cricut Scraper, Weeder and Tweezers from the Essential Tool Kit
Step 1

Step 2
Click New Project in the Cricut Design Space App, click on Canvas then Text. Type the text for the label, drag the handles on the text box to resize, click Image to search the Cricut library and add cute icons like the lightening bolt and skull I added to Nixie’s labels.

Step 3

Step 4

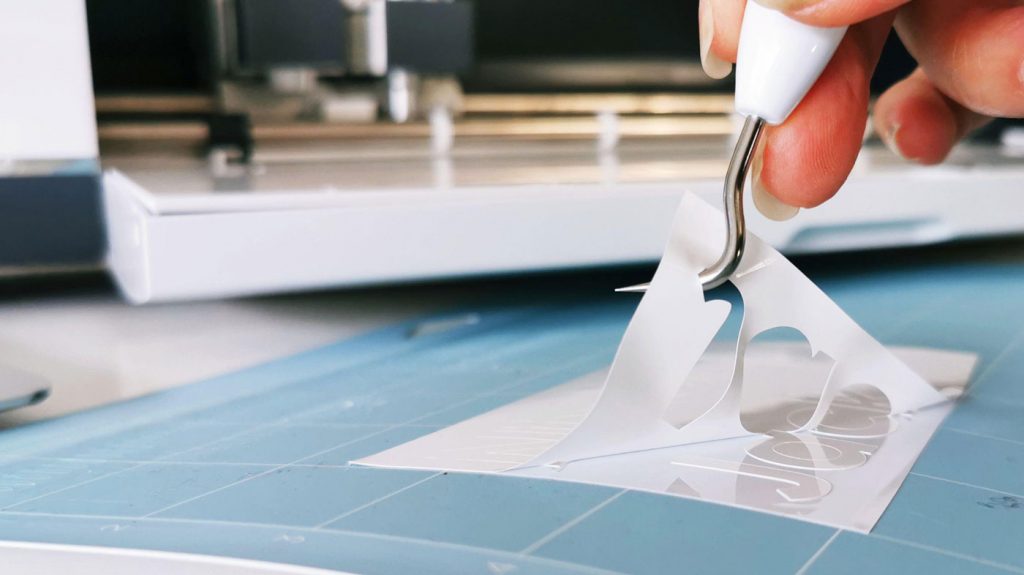
Once the vinyl has been cut it’s time to weed! Take your time, use a light touch and you should have no problems.

Step 5
Cut a piece of Vinyl Transfer Tape to the same size as your label. Peel the Transfer Tape liner and apply the tape adhesive side down onto your label. I then used the Scraper tool to adhere the tape to the vinyl. Peel the tape and vinyl away from the liner and apply to lunchbox or drink bottle. Before peeling the transfer tape off the vinyl label I used the Scraper tool again to ensure a good, bubble free application.
I’m so stoked with this wee Sunday afternoon project! The vinyl decals look so great, serve a very important purpose and were super easy, even for a Cricut novice like me! Link me to your vinyl Cricut creations in the comments below, I’d love to check them out.

Cricut sent me their amazing Maker Machine for review purposes and with full freedom to create my own projects. All opinions expressed are my own.


 Follow
